


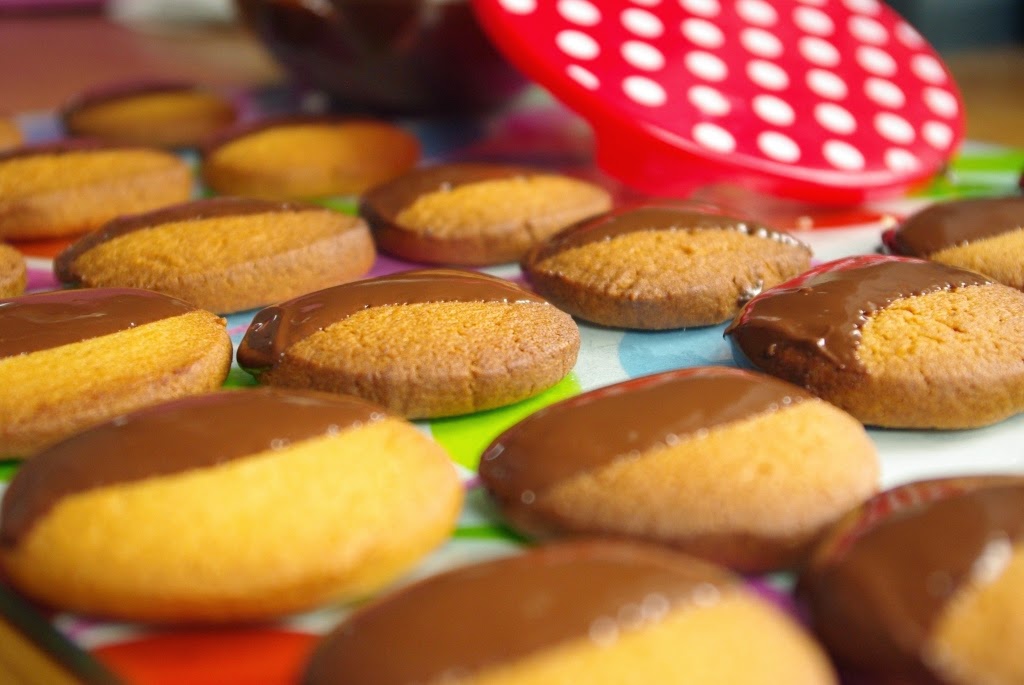
 I made some malt loaf recently. The aim was to make something that I'm not that keen on so that I wouldn't be tempted to eat it. Unfortunately it turned out that my family weren't that keen on eating it either (I did find some kind friends who helpfully finished it and assured me that it was in fact nice malt loaf). Nonetheless I was left with most of a jar of malt extract, a curious substance that I bought from a health shop that in form is very like runny honey and in smell is unsurprisingly reminiscent of malteasers. I figured if I substituted malt for honey in a recipe I could use the extract. Honey can be used in many things but I didn't think that 'Malt and Mustard Chicken' would be too much of a hit so I pulled out an old faithful cook book to see what honey biscuit recipes I could find. Well you could knock me down with a feather but the old faithful had a recipe for Malt Biscuits! Naturally I didn't leave the recipe completely untouched but the basic ingredients are the same.
The whole process including chilling can be done in an hour if you are pretty speedy and use the freezer. If you like more leisurely baking then give your self at least on hour and a half although hands on time is a lot less than this.
What you need:
125g Butter
110g Caster Sugar
1 egg
2 Tbsp Golden Syrup
2 tbsp Malt extract
375g Plain Flour
1/2 tsp Bicarbonate of soda
1 1/2 tsp Cream of tartar
200g Plain Chocolate
What you do:
1. Beat the butter, sugar and egg in a freestanding mixer until smooth. Add the syrup and the extract and mix until combined.
2. Sift in the dry ingredients and beat until the mixture comes together as a soft dough.
3. Roll some clingfilm out across your work surface and place the dough on top.
4. Shape the dough into a long sausage (or two shorter ones) about 5cm in diameter, wrap the film around it and place it in the fridge for 30minutes or the freezer for 15minutes. (The dough is very sticky so you may find it useful to do some of the shaping when the film is already wrapped around the dough).
5. While the dough is chilling heat the oven to 160 celius and line some baking trays with non stick paper.
6. Take the chilled dough out the fridge, cut the sausage into 0.5cm slices and place them onto the prepared trays a couple of cm apart. Bake for 16 minutes or until golden brown. Leave to cool on the trays.
7. When the biscuits have completely cooled melt the chocolate gently and dip half the front of each biscuit into the chocolate. Place the biscuit back on the non-stick tray and leave to set.

So far these are going down a lot better than the malt loaf. Cassie xx


