

Once you have all your patches ready you need to find a really large work surface (I use the floor) and lay out your patches in the order that you'd like them to go into the quilt. I even enjoy this stage because its like a giant puzzle. The trick is to try and get an even spread of colour over the quilt top but to keep it looking random-ish. Once you have an order that you think looks good get someone else to check it. I text a photo of mine to my mum and sister and they spotted a couple of areas that needed tweaking that I had missed.

When you are happy you need to carefully stack up your patches. Collect together each row from left to right with the left most square at the top. Then you will have a little pile of patches for each row, then take the top patch from each row and fold it around the side of the pile. Then you can stack up the rows, making sure you keep them in the right order, and you know where each row begins and ends.

Now you can head over to your sewing machine with your patches. I normally take one row at a time and put it on my knee. I then take the folded patch and the next patch on the pile and stitch right sides together keeping a 1/4" seam allowance. Make sure that you are sewing together the correct edge of the squares. If you have done octagons, the first square will only have on triangle corner. This corner needs to line up with one triangle of the next patch. Once these two patches are stitched together open it out and stitch the third patch onto the second, again right sides together. Continue like this until you have done the whole row. I then lay my row on the floor and went on the stitch the second row. As you finish each row, lie it on top of the rows you have done on the floor, this also helps keep your patches in order.
Now you need to press you seams. Normally in quilting the seams are pressed to one side and you alternate along the row. So press your first seam to the left, the second to the right, the third left again and so on. On your second row of patches press your seams in the opposite direction to the seam above. So if you pressed your first seam left on the first row press the first seam to the right on this row. This helps to keep the quilt top nice and flat.
When all these seams are pressed go ahead and sew all the rows together keeping that 1/4" seam allowance an stitching right sides together. When you have done this all you need to do is press these seams. Again press them to one side in alternating directions.

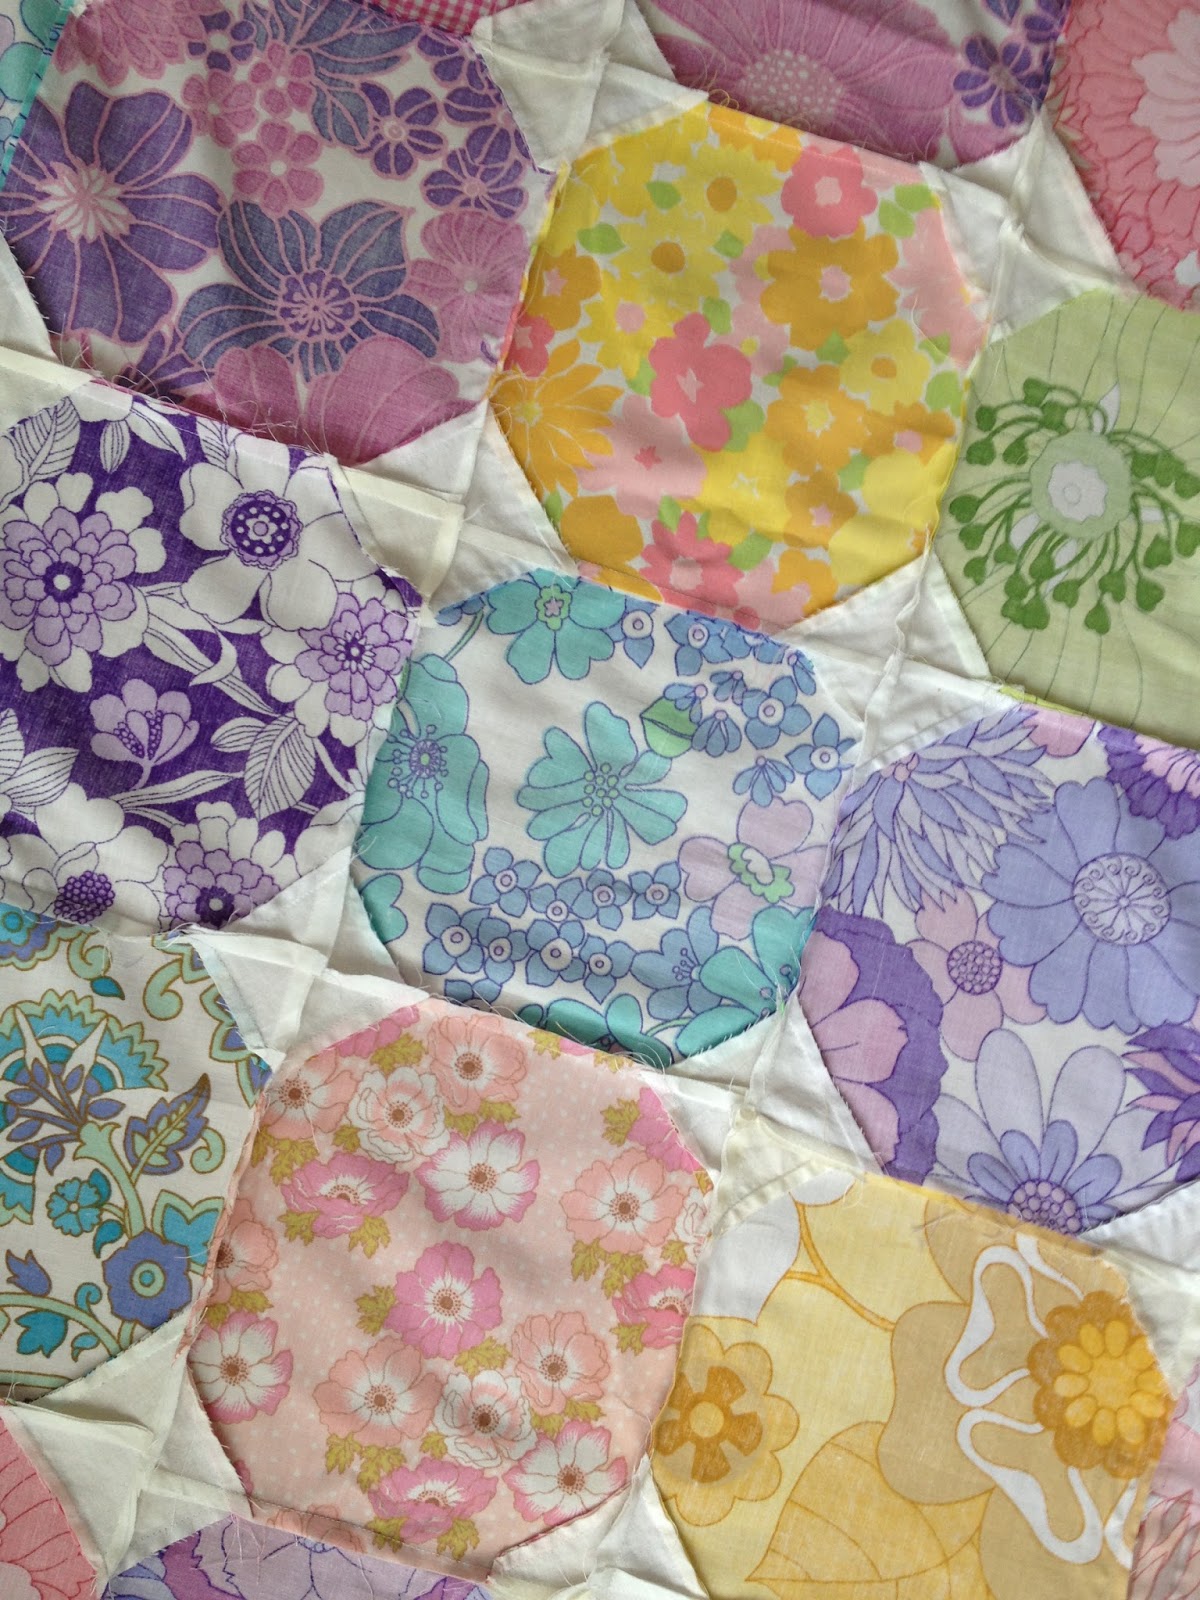
If you have cut and stitched accurately then your corner triangles should line up nice and evenly like this:

If, like me, you rushed it a little because you were too excited to see how it would turn out then some (or most-oops) of your corners might look a little more like this:

But it all adds to that homemade kind of feel right? Come back in three weeks to see how we can make the quilt sandwich. Zoe xx
P.S The photos I took for this post were mostly taken on my iPhone and they turned out well. The two not so good photos were taken on my DSLR but it was evening and I had no natural light. The lesson I learned here was to make more of an effort to take day time photos and not to worry too much about not having my DSLR to hand.
P.S The photos I took for this post were mostly taken on my iPhone and they turned out well. The two not so good photos were taken on my DSLR but it was evening and I had no natural light. The lesson I learned here was to make more of an effort to take day time photos and not to worry too much about not having my DSLR to hand.

No comments :
Post a Comment