Showing posts with label Quilt top. Show all posts

Star Pinwheel Baby Quilt Part 1: Quilt Top


I've been waiting for ages to show you this quilt. I made it for my sister-in-laws baby but it was two weeks late so I have had to keep it quiet for much longer than I thought. I wanted to make a quilt for her baby and I came up with this idea when trying to devise a quilt that would be really easy for any one hoping to learn to sew.

This quilt is so simple to make, if you have ever considered making one try this because it's a great beginners quilt. You don't even need to buy a cutting mat and rotary cutter which are normally pretty essential for speedy quilt making. So if you know some one who is having a baby soon, or maybe your are? Or maybe you just want something to pop over your knee on a chilly evening, you should make one of these quilts. It's super easy and also inexpensive as far as quilts go.  Just follow along this week and you will have a quilt. Sorted.


You Will Need:
8 Fat Quarters, 4 dark and 4 light (any colour will do, or you could have 2 contrasting colours instead of dark and light)
Fabric Scissors (You can use a rotary cutter if you have one of course)
Sewing Machine
Thread
Wadding (Batting)
You might need extra fabric for binding depending on the size of your fat quarters

Make the Quilt Top
The quilt top, or the star, is the first thing you will need to make. Take a fat quarter and fold the corner up so that the side lines up with the top as shown (1). Then you need to cut off any excess again as shown (2). This leaves you with an exact square. Some fat quarters are cut as squares but normally they are cut from a metre of fabric (sometimes a yard) from the roll and then this metre is cut into quarters to make the 'fat quarters'. So unless the fabric was originally 1 metre across then you will have some extra. Save this extra piece for your binding (part 4).


Now that you have a square shape you need to carefully cut it into these 5 triangles:


To do this simply cut the square in half along the diagonal, then cut one of these triangles in half again, and finally cut these two smaller triangles in half again. Repeat with all your fat quarters until you have 8 large triangles and 32 small triangles.


Now you need to take your 32 small triangles and pair them up. Make 8 pairs with one dark and one light triangle,  4 pairs with both triangles from your darker coloured fabrics and 4 pairs with both triangles the lighter coloured fabrics. Then put each pair with 'right sides together' and with the long side of the triangles lined up.


Now you need to stitch together each pair of triangles along this longer edge leaving a 6mm (1/4") seam allowance. Then open out the triangles and you will see you have made them into squares, press the seams to one side, if you can press towards to dark side.


Next you can lay your squares out on the floor and arrange them into the star shape. You can move them around until you are satisfied with how they look. Then collect together each row of squares from left to right into a pile. With your sewing machine stitch squares together to make rows, make sure you have each square up the right way so that you keep your star shape. Sew with the squares right sides together and with a 6mm (1/4") seam allowance. Then press your seems to one side, again if possible towards the dark side.


Finally stitch the rows together, again with right sides together and a 6mm seam allowance. You may need to lay your rows out on the floor again to make sure you are going to stitch them in the right order.


And that's it! You have made a quilt top and it wasn't so hard was it? Well if you struggled with anything then let me know in the comments and I will see if I can help. I'll share with you the next stage next Tomorrow. Zoe x

Find the other 3 parts here:
Quilt Back
Quilting
Binding and Finishing

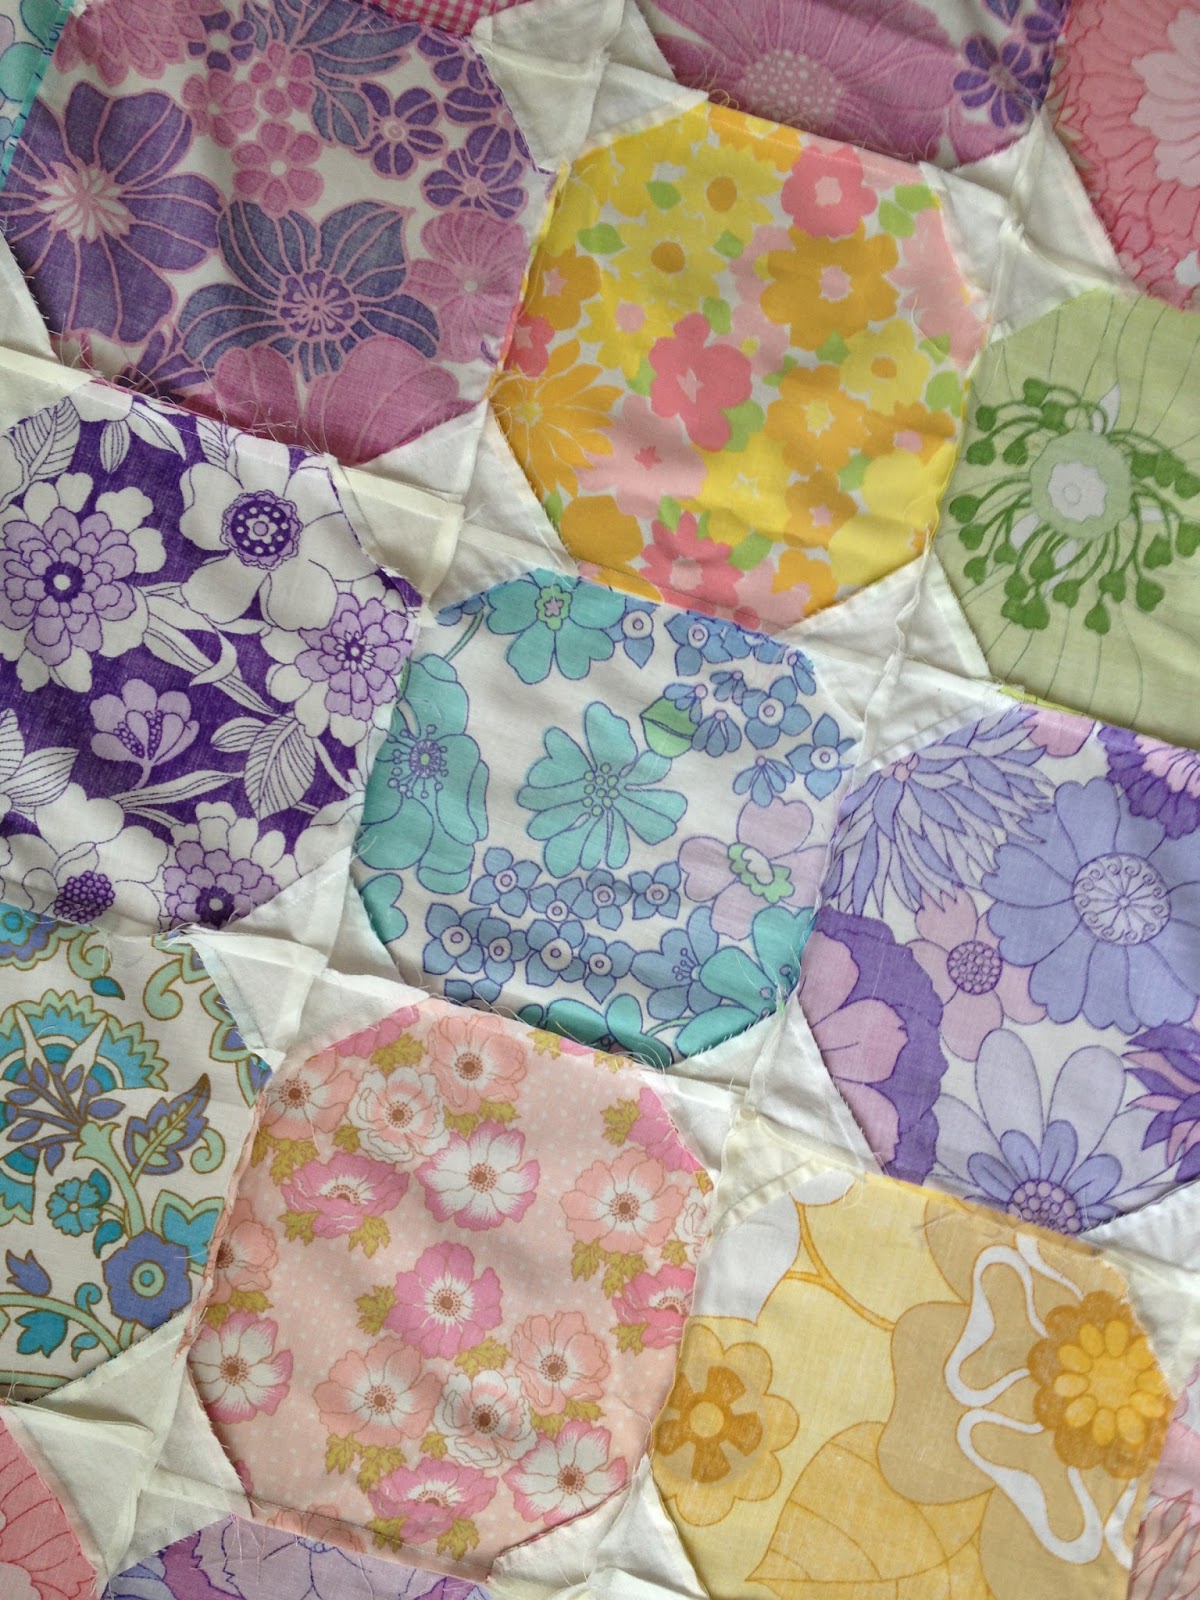
Vintage Sheets Octagons Quilt: Assembling the Quilt Top


This stage of making a quilt is definitely my favourite. 'Assembling the Quilt Top' is a fancy way of saying 'sew together the patches' and I enjoy it because you go from lots of small pieces of fabric to one large blanket sized piece that really starts to resemble the finished article and its really quick progress. This is why im ahead of schedule but I thought i would share early since the next stage (quilting) will take me the longest so this way i have three weeks to do that part. If you haven't been following along with the rest of the quilt you can check out the other stages here, here and here.

Once you have all your patches ready you need to find a really large work surface (I use the floor) and lay out your patches in the order that you'd like them to go into the quilt. I even enjoy this stage because its like a giant puzzle. The trick is to try and get an even spread of colour over the quilt top but to keep it looking random-ish. Once you have an order that you think looks good get someone else to check it. I text a photo of mine to my mum and sister and they spotted a couple of areas that needed tweaking that I had missed.


When you are happy you need to carefully stack up your patches. Collect together each row from left to right with the left most square at the top. Then you will have a little pile of patches for each row, then take the top patch from each row and fold it around the side of the pile. Then you can stack up the rows, making sure you keep them in the right order, and you know where each row begins and ends.

Now you can head over to your sewing machine with your patches. I normally take one row at a time and put it on my knee. I then take the folded patch and the next patch on the pile and stitch right sides together keeping a 1/4" seam allowance. Make sure that you are sewing together the correct edge of the squares. If you have done octagons, the first square will only have on triangle corner. This corner needs to line up with one triangle of the next patch. Once these two patches are stitched together open it out and stitch the third patch onto the second, again right sides together. Continue like this until you have done the whole row. I then lay my row on the floor and went on the stitch the second row. As you finish each row, lie it on top of the rows you have done on the floor, this also helps keep your patches in order.

Now you need to press you seams. Normally in quilting the seams are pressed to one side and you alternate along the row. So press your first seam to the left, the second to the right, the third left again and so on. On your second row of patches press your seams in the opposite direction to the seam above. So if you pressed your first seam left on the first row press the first seam to the right on this row. This helps to keep the quilt top nice and flat.


When all these seams are pressed go ahead and sew all the rows together keeping that 1/4" seam allowance an stitching right sides together. When you have done this all you need to do is press these seams. Again press them to one side in alternating directions.


If you have cut and stitched accurately then your corner triangles should line up nice and evenly like this:


If, like me, you rushed it a little because you were too excited to see how it would turn out then some (or most-oops) of your corners might look a little more like this:


But it all adds to that homemade kind of feel right? Come back in three weeks to see how we can make the quilt sandwich. Zoe xx

P.S The photos I took for this post were mostly taken on my iPhone and they turned out well. The two not so good photos were taken on my DSLR but it was evening and I had no natural light. The lesson I learned here was to make more of an effort to take day time photos and not to worry too much about not having my DSLR to hand.
Related Posts Plugin for WordPress, Blogger...