Showing posts with label Photography. Show all posts

7 Tips for Photographing Your Craft


When it comes to photographing your craft, the photography is a whole new craft of its own. Sure you can take a quick snap on your phone and share it on instagram but taking a photo that can compete with the pros is another story altogether. I have been blogging about craft for nearly a year now and I have learnt a whole heap about craft photography. So today I am going to share some of my tips to help your pics look better too.

1. Finding the Light is the Most Important Step
I know I've said this before, but I will say it again, finding the light for your photograph is the most important step. You need plenty of it. Shoot in the day time and preferably outside. If its really sunny though find a shady spot or you'll end up with harsh shadows. If you need to shoot indoors then pull back the curtains and let as much light into the room as possible. If you would like to read more about finding the light, check out this post here.


2. Set Up the Scene
Clear a space and declutter, people will notice if you have lots of rubbish in the background so move it out the way. Your scene might be indoors if you want your item to be photographed in its new home and thats ok, just pull back the curtains. If you need to, hang up some fabric as a background or pop a chopping board on the ground to make a simple surface. Then put your finished craft in your scene. You want this to be the focus of your photo so make it the focus.

3. Take a look down the lens of your camera
Once you have set up your scene, peek down the camera and check its all in the shot. You might need to adjust your background to make sure you can fit everything in in one go. Equally leaving some blank space can really help your photo pop, but make sure that your empty space really is empty and not all cluttered.

4. Set Your Camera to Aperture mode
This mode on your camera allows you to control your depth of field. You can read more about it here but the important thing to remember is the smaller the f-stop number the greater the aperture and the shallower the depth of field. Experiment with this mode a little (you might need your camera manual to find out how) to figure out what I mean.


5. Take some shots of the whole item with a medium aperture
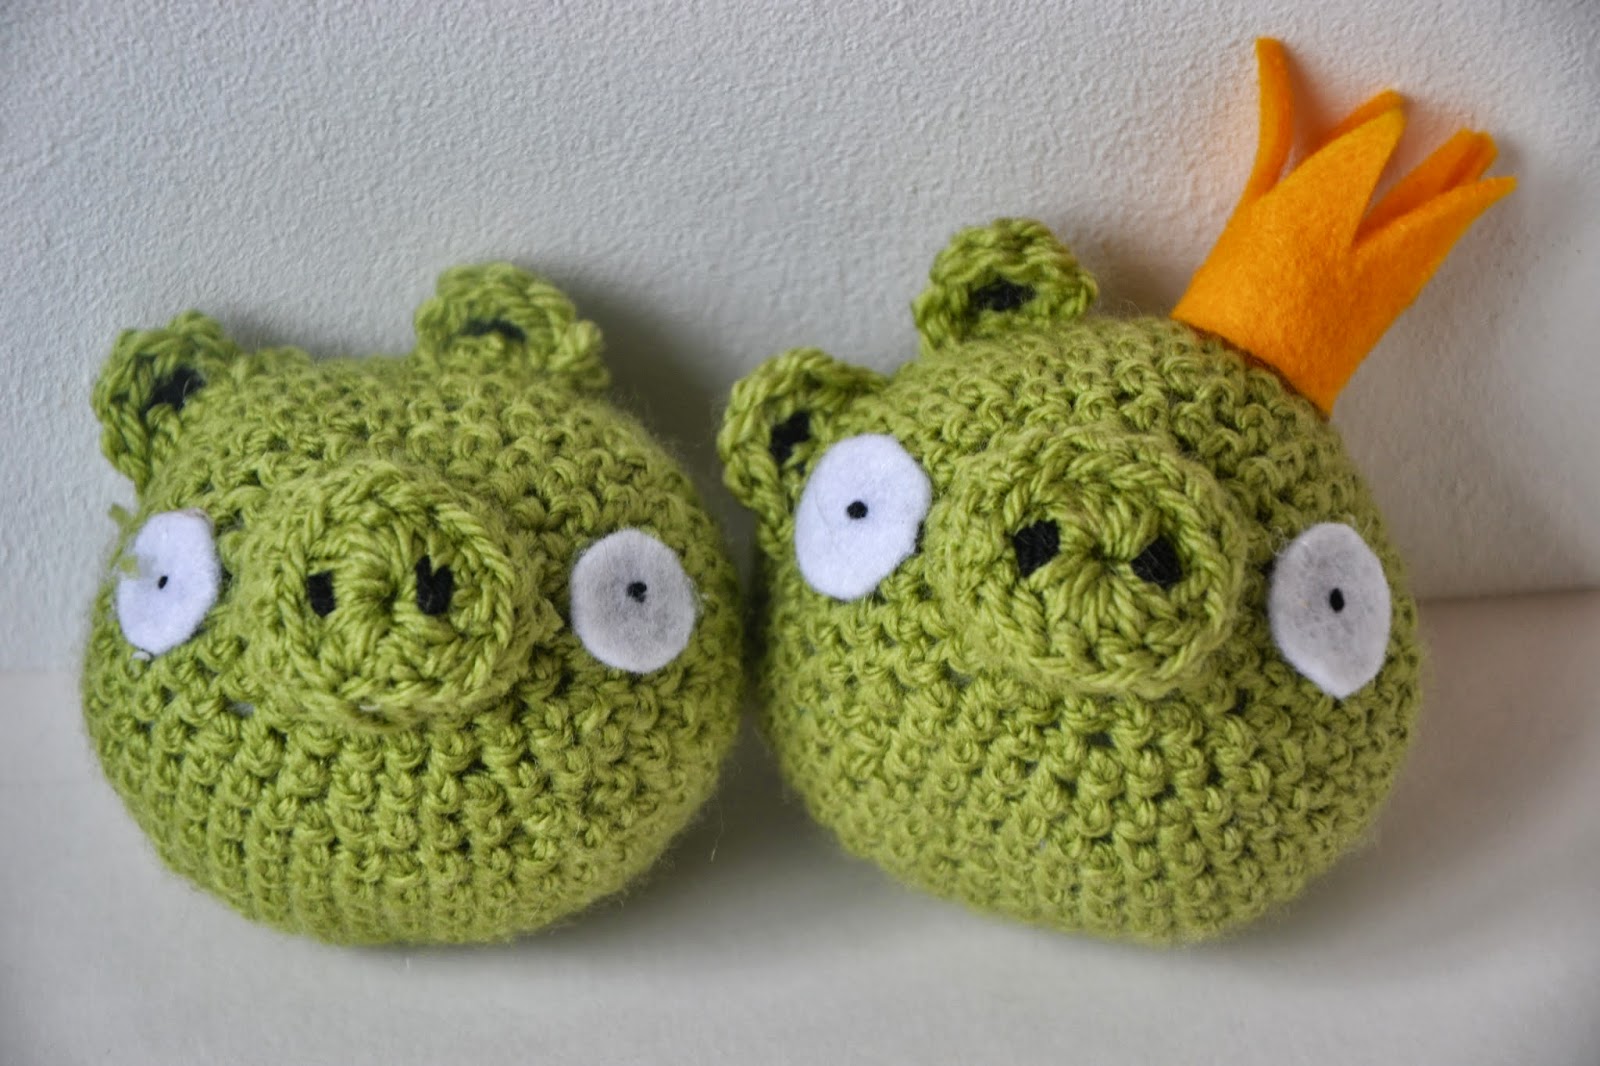
With a medium aperture you will have the whole item in focus so you can really show off your finished craft. Take a few from different angles to capture every part of it. Also don't be afraid to take more than you think you will need, you can always delete the not so good ones later.


6. Take some shots of the details with a large aperture (small f-stop)
Zoom in and take some pictures with a large aperture. This will blur the back ground and give focus to the details. Show off the areas where you have learnt a new skill, improved an old one and the parts that look extra pretty.


7. Don't worry if it doesn't work out the way you planned
I was so proud when I finished my octagons quilt that I was even more excited to photograph it than usual. We took it outside and starting taking pictures. But the wind was super strong that day and I just couldn't get a good shot. I decided to use the photograph any way because it was funny and made it real. Don't be afraid to use these silly shots sometimes, I think they add character.

Do you have anything to add? Feel free to chip in by adding a comment and you can help us all get better too! Thanks, Zoe x

6 Tips for Taking Scrumptious Food Photos

Do you take photos of food? Once upon a time I would have thought you were mad if you photographed your food. Since starting this blog and joining instagram I have seen the light. Getting good photographs of food is now not only fun but its quite important for me, there isn't much point sharing a recipe if the photos of the final meal (or more likely cake) don't look scrumptious. Here are my tips for improving your food photos:

Find The Light
As with any photography you will get the best photos if you take your photos in natural light. Turn the flash off your camera, place your plate near a window during the day (or even go outside) and then take your photo. If you normally eat later in the evening then you will have to decide if a good photo or hot food is more important!

Think About the Whole Photo
The last thing you want in the background of your photo is the mess you made in the kitchen when cooking. You need to think about everything that is in the photo. Clear your worktop, pop your food on a different clean table or even use a makeshift background that isn't going to distract from your scrummy make. It can add interest to the photo if you pop something pretty in the background but its important not to over clutter it, practice at this until you find a good balance.

Have a Look at Other Photos
Obviously it't not a good idea to copy someone else's idea exactly but you can study what you like about other peoples work. Pinterest is a great place to browse other photos, think about which photos your eyes are drawn to and which photos make you want to eat their food. Then look at the photos which aren't so great and what mistakes you think they have made and learn from it.

Choose a Shallow Depth Of Field
Since learning about aperture I am a little obsessed with choosing a shallow depth of field. If you haven't already read it, see my post on aperture to learn what I mean. Choose a small f-stop number to achieve this effect. Focus your camera on the most delicious looking part of your food and let the rest blur and even you will start drooling over the results.

Photograph Your Ingredients
Sometimes it's fun to line up your ingredients and take a photograph of that. It comes in handy when you want to share a recipe but also looks cute and can be artistic. This looks particularly effective if your ingredients have interesting colours like citrus fruit.

Eat Some!
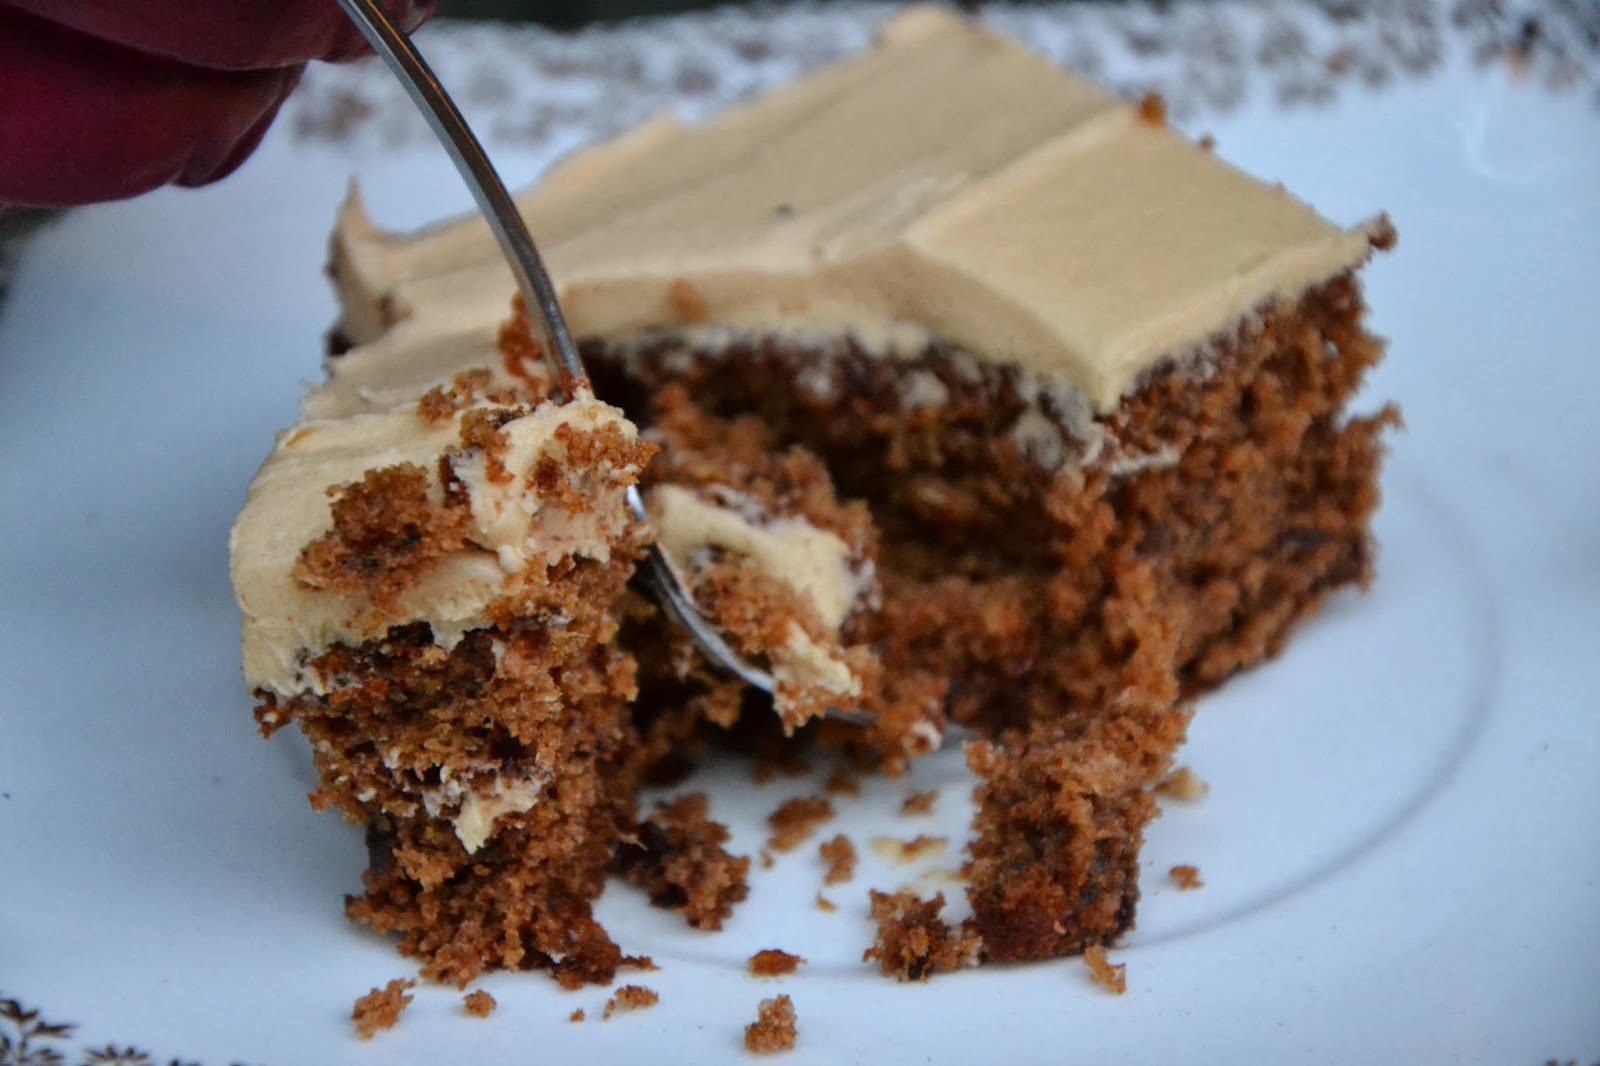
Food looks more eatable if you can see that someone else has enjoyed it or is enjoying it. Stick your fork it, take a bite and then snap away again. Similarly make it look appetising by add your favourite garnish or drizzling it with oil. Snap some before and some after just in case you prefer the before ones though!

So what are you waiting for? Get in your kitchen, bake something yummy and then take a photograph that looks just as delicious. Zoe x

PS most of these photographs are form recipes we have shared on Tadpegs so if they're making you hungry have a look at our food section to find out how to make your own. x

Photo Friday Update

A quick update before the real Photo Friday (coming later today). Over the past 2 months I have learnt so much about using my camera and taking better photos. I hope you have learned a few things too if you have been following along. I really want to keep learning and keep writing about photography but I have found it restrictive to have to write about it every Friday.

I am going to continue writing about photography and sharing tutorials and tips to help you improve your photographs. However I won't be writing it in the same way any more. I will update my older photography posts to make them into individual tutorials. There won't be a weekly challenge any more and I won't write about it every week. I know a few people who have been joining in so sorry to those of you who have enjoyed the weekly challenge and I hope you will still have fun reading about photography here on Tadpegs.

Come back later today for a post with tips for food photography. It looks mouth wateringly good. Zoe x

Photo Friday: Photograph Landscape (The Exposure Triangle)


Two weeks ago I set the challenge of photography landscape. Part of the challenge was to select your own setting to take the photograph in. I chose to shoot in manual mode for the first time. This mode allows me to select both the aperture and the shutter speed as well as other settings such as ISO and white balance etc. You may remember from my post on Aperture this:

Small Aperture = Large f/stop number = Large depth of field
Large Aperture = Small f/stop number = Shallow depth of field

So when I went out to shoot landscape I knew I wanted a large depth of field. This is achieved with a small aperture. A small aperture will let in only a small amount of light because it means that the hole in the lens only opens a small amount. It was a sunny day so this was good. However I also had to select the shutter speed.

When we looked at shutter speed we saw that the longer the shutter speed the more light could enter the camera. If you have a bright day you need a short shutter speed or you will have too much light, if its getting darker then you will need a longer shutter speed to take in more light and make sure your photo isn't too dark. Because the sun was so bright on this particular day, and I was shooting into it I needed to set a short shutter speed.

The other factor in our cameras concerning light is the ISO. We saw that a low ISO would give a great smooth photo if you have lots of available light while a larger ISO might give you a slightly grainy photo but would be more sensitive to low levels of light. Because of the high light I could get away with selecting a low ISO.

These three factors together (aperture, shutter speed and ISO) all work together to affect the light levels. We call them the exposure triangle, they need to be held in balance and adjusted for the amount of light available and for the type of photograph required. These photos were taken on a bright day, I needed a small aperture, a fast shutter speed and a low ISO. For every photo you take the balance will be slightly different.

Manual mode takes some practice but ultimately gives you the most control over your photos so it's definitely something to work towards. I am going to try and shoot in manual mode from now on but if you aren't at this stage yet reread through some of my earlier posts on ApertureShutter SpeedWhite Balance and ISO. I would suggest you choose the thing you want control over first. For these photos I knew I needed a long depth of field so I chose my aperture first, then I set the shutter speed according to the light levels and kept my ISO low because I had plenty of light.

Remember using manual mode is all about balancing the exposure triangle. The only way to understand this is to practice, I need some more practice thats for sure! Next weeks challenge will be a great place to start so read on.

Next Weeks Challenge: Photograph Food
Camera: A camera that you can set to manual mode
Equipment: You may need a tripod
Software: None needed

Rules:
1. Take a photograph of food and make it look delicious
2. Have a go shooting in manual mode and practice balancing the exposure triangle

It can be tricky to photograph food and make it look good so play around with this one and have fun. As usual show me what you get, I am thinking about setting up a Flickr pool for photos people take so let me know if you're interested and I will get on it. Have a good week, Zoe x

Let's Talk ISO

ISO is pretty important. It is one of three elements that make up the exposure triangle. This is quite tricky to demonstrate with photos so you will have to look closely at the pictures below. First off a photo taken with the lowest ISO setting on my camera (100):

The low ISO setting gives a lovely smooth photo. The details are sharp and the blur is smooth. This is exactly what to look for in good photo. Now take a look (a very close one) to the below photo taken with the highest ISO setting on my camera (3200):

Now admittedly you have to look closely to see the difference but its most obvious in the background. The blur, which is supposed, to be smooth is a little grainy.

Now I hear you ask a question here, if a high ISO makes a photo grainy why would you ever use that setting? Now this is a good question because in natural light (the best kind) a low ISO setting is perfect and gives the best results. However when you set your camera to a higher ISO it becomes more sensitive to low light levels. This means when it is darker in the shadows or you are taking photos at night using a higher ISO can result in more details appearing in your photo.

So remember this:
Low ISO = Less grainy photo, great for good light
High ISO = More grainy photo, great for low light

A time to use a slightly higher ISO would be if you have to shoot inside, for example at a wedding or family gathering or you are photographing your home. You may need to use an even higher ISO if you are at an evening or night party and need the maximum sensitivity to light, your photos will be a little grainier but the overall outcome will be better.

Take a look at my post on the exposure triangle if you want to see how ISO works in balance with shutter speed and aperture. Zoe x

Have You Ever Tried Night Photography?

Happy Valentines! We had some sparklers left over from bonfire night so I thought it would be fun to get some pics of them.

When taking photos at night its a good idea to use a long shutter speed. The shutter speed for these pics was 10 seconds! I had to have my camera set up on a tripod and get someone else to press the trigger. I was standing ready and when the shot started to take I started moving my sparkler. I just drew a heart shape several times to get the heart photo but just doing it once would have been fine. For the photos below I only traced the words once rather than repeating it several times. Each word was one photo. For each photo I wrote the word in the air, then I had to flip the image on my computer to make the words go the right way around. I then cropped the two words into one photo.

It was good fun. You can take other trick shots like this using torches or glow stick. Or you can take photos of road with lots of traffic and the results look pretty good. Obviously yours don't have to be so lovey dovey, normally mine wouldn't be, but since its a special occasion I though why not? I hope you have fun too, Zoe x

Photograph Action and Experiment with Shutter Speed

The shutter speed effects several different aspects of the photo. These photos are of my son on his bike because I wanted to demonstrate how the shutter speed is affected by movement. Let me explain.

What is Shutter Speed?
Whenever you take a photograph your camera opens its shutter, which is basically a hole, to let in the light. The length of time that this shutter is open for is the shutter speed. Short speeds are only fractions of a second while longer speeds can be up to half a minute or more. When we have our camera set to S mode we manually choose the shutter speed. On my camera this varies from 1/4000 (very short) to 30s (very long). The camera then automatically chooses an appropriate aperture (the size of the opening) in order to take in enough light for the photograph.

When we take a photograph with a short shutter speed the camera can't take in as much light. (When you move on to using M mode which is fully manual then you can widen your aperture while also setting your shutter speed to compensate for less light.)  Less light can be really helpful if you are trying to shoot on a very bright day. However if you are shooting when it's not so bright a short shutter speed just results in a dark photo:


When you are shooting something that is moving, as we were for this challenge, if you use a longer shutter speed you just get something blurry:

In fact if you use a shutter speed slower than 1/60, even if your subject is motionless, usually the result is quite blurry unless you use a tripod. The natural shake in your hands will create blur for shutter speeds slower than 1/60.

Shooting Action in S mode
If we wanted to photograph something moving and have a totally crisp image then we would need to use a very fast shutter speed (1/2000-1/200). However some blur is good sometimes. The next photograph was taken with shutter speed 1/15 which is quite slow. But I moved the camera with the movement of Boaz so he stays mostly in focus and the background blurs. This makes it clear in the photo that Boaz was moving. This took quite a few attempts to get a good shot but with practice it gets easier.

I can't answer the question 'How long should my shutter speed be for shooting action' because it will vary greatly depending on how fast your subject is moving. You will have to play around with this until you get a feel for it. So if you haven't already then go out and take some photos on S mode.

Have some fun, Zoe. x

The Importance of Setting the White Balance


You probably haven't noticed when you look at things that sometimes the light is tinted a certain colour. If for example you are inside at night with the lights on, the light is probably quite yellow. This is called the colour temperature. Your eyes and brain do a pretty good job at adjusting for this and your camera does its best but can't figure it out like you can. So some times your photos come out in a way you don't expect. The photo below was taken at night with the lights on and you can see that it is all yellow:

I then set the white balance manually check your camera manual for how to do this and took another photo about a minute later. So it was still dark and I had the lights on but this is what I got:

Totally different right? The camera knew that the light in the room was too yellow and stripped the photograph of the unnatural colours. You almost can't tell that its not day time any more. To set the white balance on your camera check your manual. On my camera (Nikon) I press Menu> White Balance> Preset Manual> Measure. It then asks if I want to 'Overwrite the preset data?' and I then select 'Yes'. The next part will be the same for any camera, you take a photograph of something white or grey. You can get fancy photography boards to use but a white sheet of paper will do. This sets the 'white balance' for your particular lighting. Instead of actually taking a photo the camera works out the colour temperature and then how much it need to adjust by.

This is a handy trick for any photo shoot and you should do it every time your lighting changes and at the beginning of any shoot. Each different situation will have a different tone to the light but if you set the white balance you can teach your camera what the colour is supposed to look like. So remember to do this next time! Good Luck. Zoe

Photograph A Friend and Experiment With Aperture

This week I challenged myself to take some photos of a friend and experiment with aperture.  I will just be talking about the effect that changing the aperture has on your photos so if you want to understand a bit more about the science behind it check out this post here. Firstly I will talk a little bit about photographing your friend.

Photograph A Friend
My friend is my handsome husband Stephen (commonly known as Blowers) and he was very obliging. He normally pulls funny faces when he knows someone is taking his photo so a challenge for me was to try and get him to act naturally while I snapped away. Since we have a fairly easy going relationship that has been built up over the years it wasn't too tricky but I can imagine that as a photographer taking photos of some one you barely know this can be the biggest challenge. I tried to get him to chat about his day and make a few jokes. Sometimes this meant the photos had him mid word and looking silly but I tried to wait to in between sentence and for short pauses to press the button and take the shot. If you didn't manage to do this maybe try next time.

Aperture
Now to talk a bit about aperture. Aperture is measured in f/stop numbers. It's slightly confusing but the larger the f/stop the smaller the aperture (to understand why read more here). I'll show you some photos that I took to show you what effect changing the aperture had.

The photo above was taken with an aperture of f/25. This is a larger f/stop number. You can see that both Stephen and the background are in focus.

In this second photograph the f/stop number is smaller, the aperture is f/15. If you compare this with the photo above you can see that the background is starting to get fuzzy. We say that the 'depth of field' is smaller or shallower. This is because a smaller slice of what you see is in focus.

Finally the above photograph has an aperture of f/3.8. This is the smallest f/stop (largest aperture) I could use on my camera. It has made the background very fuzzy and is totally focused on Stephen. This has the smallest depth of field and really makes Stephen stand out. For this reason using a large aperture (small f/stop number) can result in great portraits. On the other hand if you are trying to photograph a scenery you will need a small aperture (large f/stop number).

So remember this
Small Aperture = Large f/stop number = Large depth of field
Large Aperture = Small f/stop number = Shallow depth of field

It is worth just mentioning though that having a smaller aperture means less light will go in through your lens. In Aperture mode the camera will compensate for this by having a longer shutter speed. This means you are more likely to get a blurry photo unless you ensure your camera is steady and preferably use a tripod. You may have found you couldn't take a decent photo of your friend when you aperture was small because they kept moving, don't worry, just use a larger aperture next time. Zoe x

The Best Light for Photography and Some Simple Selfies


The most important thing to get right when taking a photo is the light. Find good quality natural light. One mistake I have made a lot in the past was confusing 'good quality light' with 'lots and lots of light'. If you look back on some of my first posts you can see I often took photos in the middle of the day with bright sunlight, I reasoned that this light was the best because it was the most light. I even went so far as to reshoot some of my finished items in full sunlight after having photographed them on a cloudy day. Well I was wrong. Bright midday sunlight can cause harsh shadows, make your subject look washed out and people look all squinty instead of having wide open eyes. Check out the photo on the left below, this was taken in too much light.

The photo on the right was taken in the last hour of sunlight in the day, this is a good time to take photos but this one is no good either, why? Because my face if all shady. I was looking down to the ground and the dark earth didn't reflect much light onto my face. So too much light is no good, and not enough is just as bad.

What you want is soft light, so stand in the shade but with enough light reflected towards you face. In the above two photos because the camera was held higher, the light from the sky was bouncing off my face which made it much brighter but not so much that I look like the midday photo. You can use some other kind of reflector as well, anything white that bounces the light back onto your subject, so if you don't want to be looking up have a look around for white walls, vehicles or other objects to use.

So the best light is natural, soft but enough in the right direction that your subject isn't in shadow.

Selfie Tips
Now to talk a tiny bit about selfless. Admittedly they're a bit silly but they're fun too. It feels pretty strange when you start taking photos of yourself. In fact I still feel strange even though I have had a fair bit of practice now although it is getting easier. So if you aren't happy with your selfies, try taking some more. The more you take the easier it will become. This week I have literally taken hundred of photos of myself. Here a few things I have learnt.

I like the two photos above, a selfie doesn't always have to be looking straight at the camera, in fact it doesn't even have to include your face (all of these examples do though).

These two are examples of what NOT to do. Both are blurry. This is an easy mistake to make when taking a photo of yourself. The first is blurry because I was moving as I took the photo, I was trying to do a jumping photo so thats not really surprising. The 'mirror selfie' is focused on the reflection of my camera instead of me, bummer. My favourite selfie I took this week is the one at the very top of the post.  If you look closely you can see that this is actually focused on the camera and not my face as well but it's still my favourite (aka I couldn't get it to focus on my face even after 100 shots). I took it inside but with all the lights off and lots of natural light coming in through the window as the curtains were pulled right back.

The photo below is another mirror selfie but I moved the camera lower to take a shot of my whole face, for most of these photos I totally missed my head, or chopped off my chin or forehead so they take practice. Also remember to look into the camera not at yourself otherwise your eyes look really strange. For those of you fed up with the selfie maybe you should try some out and see if you think they're tricky too.


Right that's enough photos of me! What have you learnt anything from taking selfless? Have fun. Zoe x

Photo Friday Challenge


Have you ever seen the Instagram weekend hashtag project? If you're on Instagram try following the 'Instagram' account where they set a weekend challenge to take a particular photo or video. I always want to join in but to be honest I never get round to it so I have been thinking about setting a similar challenge for myself. Then this Christmas I was given the 'A Beautiful Mess Photo Idea' book written by my favourite bloggers at A Beautiful Mess. It has lots of ideas for photos I would like to try but it could easily be something I read once and never actually do so I'm going to set myself one photo challenge per week this year.  This is going to take the form of the 'Photo Friday Challenge'. This is a self imposed challenge I am going to set each week.  Some of the ideas will be inspired by the book, others from the weekend hashtag project and others will be more focused on learning new camera functions or techniques in Photoshop.

Each Friday I'll share with you my photo that I took for the previous weeks challenge and let you know what I learnt from that challenge. Then I will set the challenge for the following week with the rules. (All self imposed so its possible I'll bend them from time to time!)

If you want to join in please do! Every challenge will be suitable for a beginner.  For most of the challenges all you'll need is a basic camera and some imagination. Occasionally you might need a DSLR or some editing software. You don't have to do every single challenge along with me but if you try out one or two let me know by commenting and leaving a link to your photo. Or you can share your photo with me via Instagram or Twitter (@zoeblofeld) or on Google+ (+Zoeblofeld).

General rules:
1. In general only minimal editing allowed. The idea is to practise taking photos that optimise what I have at hand so the post production can be kept to a minimum. So think about the light, the framing (minimal editing includes minimal cropping) and the background as well as your subject. If the challenge is to learn a new way to edit then obviously this rule won't apply.
2. Any camera can work unless that challenge says otherwise. It's not about having a fancy camera necessarily but about pushing myself (or yourself) to take better photos with what's available. 
3. Try to make each photo imaginative. 
4. Take a new photo for each challenge and not use an old photo that is stored on my computer. 

So those rules apply every week (unless stated otherwise in the challenge) and the following rules apply to just the first weeks challenge. 

Challenge 1: Simple Selfie (Experiment with light)
Camera: suitable for any camera
Software: none needed
Other equipment: a tripod, self timer or camera remote could be handy but not essential. 

Rules:
1.Take a photo of yourself. You must be the taker of the photo and you must appear in the photo. 
2. Try out different lighting, full sun, partial sun, shade, evening sun, inside lighting etc. 

If lighting is the most important aspect of any photograph then we should get this nailed first. So its just a simple one to get us started. Let me know if you'll be joining me. Zoe x

Electric Photos

This week I have been away camping with some of the young people from my church. One evening I was messing around with the long shutter speed option on my camera and took this photo. Apparently they're called 'electric photos'. Ill be trying this again soon I think. Back to normal crafting this week too. Zoe xx
Related Posts Plugin for WordPress, Blogger...