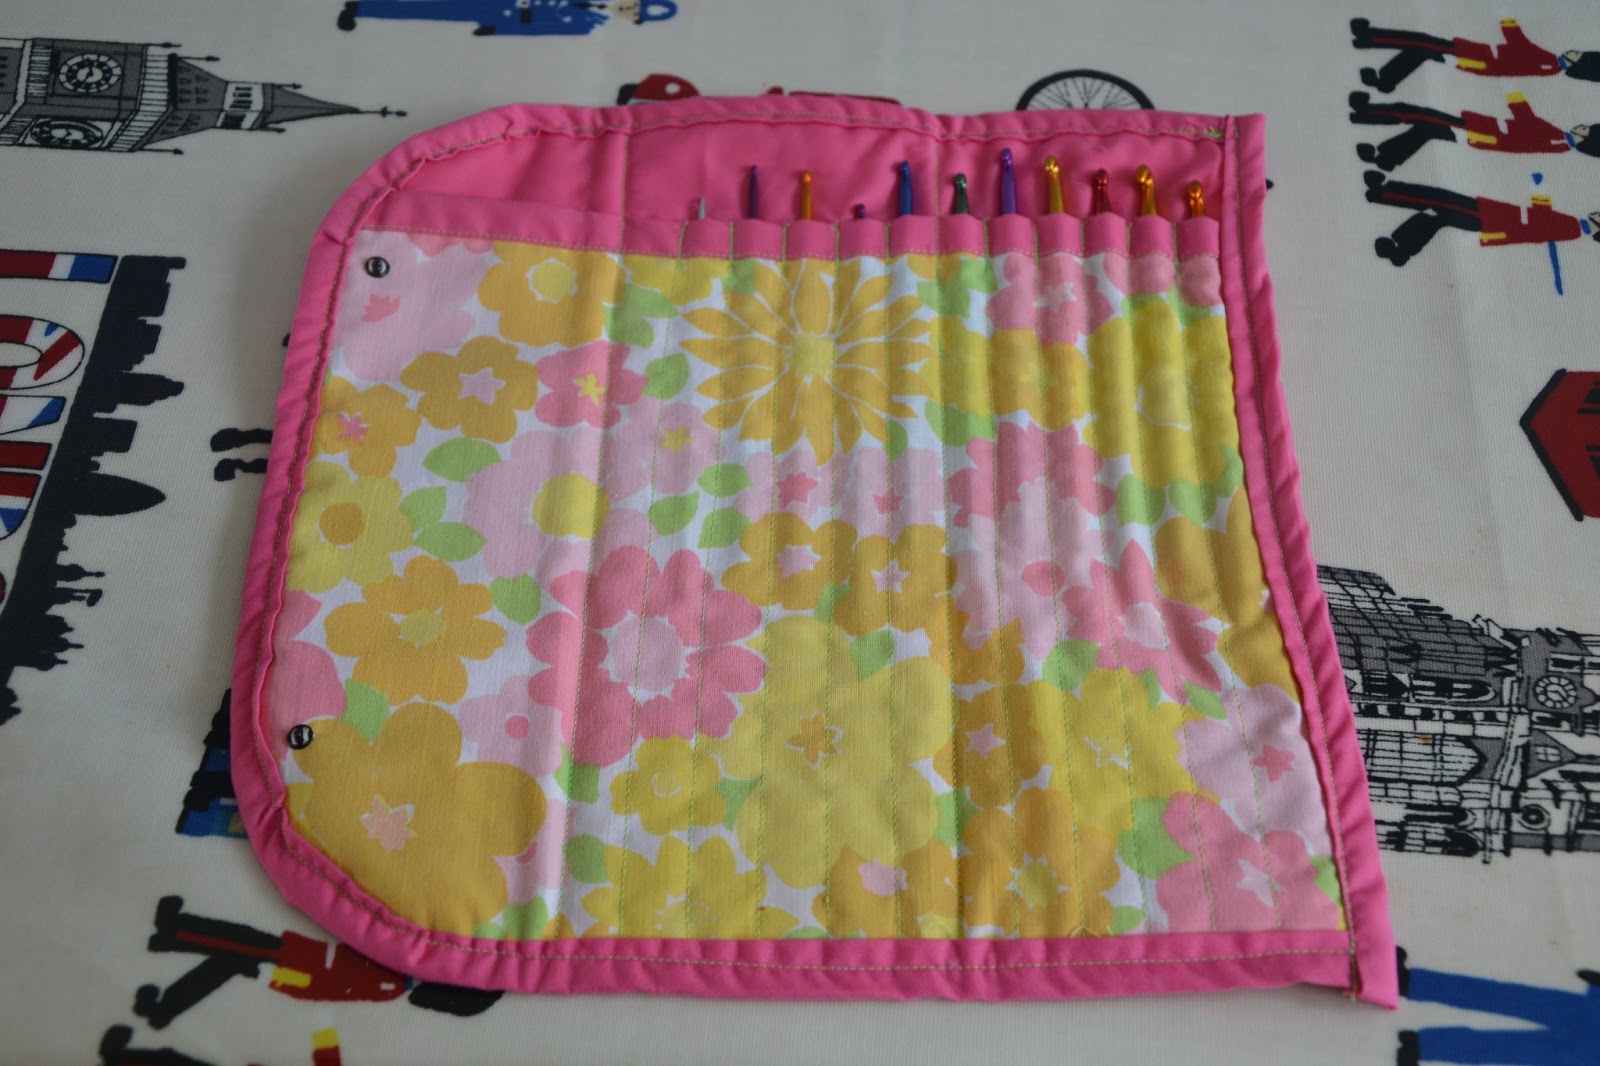
This week is my Sisters birthday. She is a fellow 'crafter' and has recently invested in a set of Tunisian crochet hooks. I decided to make her a case to keep her hooks in. This is what I did:
First I chose a fat quarter of this vintage fabric to be the main fabric and a coordinating plain fabric for the lining and binding.
The hooks are just less than 30cm long so I also made it 30cm tall. I cut a 30x30cm square from both fabrics and a 20cm square from the main fabric.I needed her case to be long enough for 12 hooks and I wanted 1.5cm width for each 'hook pocket'. I also needed an extra 10cm to make a flap to close it. Therefore I needed the case to be 30cm wide (12x1.5+10).
I also needed a 30x30cm square of wadding (batting). I didnt have quite the right size in my thinnest wadding so I made it up from two rectangles which hasnt affected the final result but it would be easier to cut one square.
I then made a 30cm peice of bias binding and stitched this along one long edge of the rectangle of the main fabric.
I then used a dressmakers pen and my quilters ruler to draw 13 lines on the rectangle. The first line was about 1cm in from the right (if the bias binding was at the top) and then marked 12 more lines each 1.5cm to the left of the previous one.
I then pinned this rectangle to the square of the plain fabric, lining up the bottom of the rectangle with one edge of the plain square (should have photographed this, sorry!) I then stitched along all the lines except the 1st, 7th and 13th line. To make sure the 'hook pockets' are strong I stitched forward and back along the very top of the pocket where the bias binding is. The picture below shows this better.
I then trimmed the threads.
I then lay the large square of main fabric face down on the mat. I lay the wadding on top, lining up the edges. then I lay the pockets on top of this face up.
Then I stitched along the 1st, 7th and 13th lines from the very top to the bottom.
I then curved round the corners on the left hand side, I made it symmetrical by folding these in half and doing both together but I did it freehand.
I then stitched binding around the curved edge. I was lazy and didn't actually make 'bias' binding so that's why it doesn't lie flat but after ironing it it looked a little better.
I then stitched another piice of binding down the remaining edges, tucking in the corners as I went. I trimmed any remaining threads and washed off the dressmakers pen marks.
I then hand stitched in some poppers and voila:
I hope she likes it! Zoe xx
P.S She did.


No comments :
Post a Comment